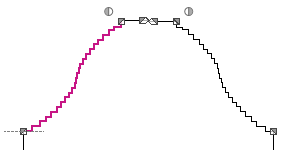
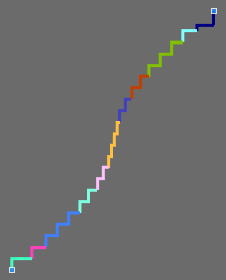
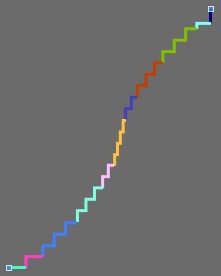
S-curve
How to define a S-curve at the sleeve armhole:
- The dimensioned shape is opened in the Dimensioning View
 .
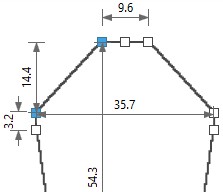
. - The startpoint and endpoint of the armhole are dimensioned horizontally and vertically.
- 1
- Open the context menu for the left diagonal shape line armhole at the sleeve.

- 2
- Select the

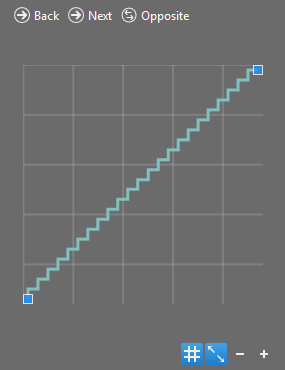
- The Line Properties tool window appears.
- 3
- Activate
 Show Line View.
- The selected shape line appears in the line view.
- 4
- Go to the Stepping Parameters group box.
- 5
- Select the
 S-curve option in the Stepping Kind
  list box.
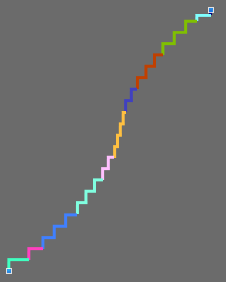
- The line view updates.

- 6
- Select the value 3 in the Min. Step Height
 edit box.
- The line view updates.
- 7
- Select the value 2 in the Step Width edit box
- 8
- Select the even-numbered option in the Stepping in the Height list box.
- 9
- Select the value 4 in the Min. Height at the End of Line edit box.
- The line view updates.
- 10
- Activate the Binding-off at Line Foot check box.
- The Line Width by Stitches
 edit box appears enabled.
 - 11
- Select the value 6 in the Line Width by Stitches edit box.
- The line view updates.
- The Binding-off entry appears in the Function column of the line S. 1.
- 12
- Click on the line ID M of the main row in the Line table.
- The attributes of the M line appear in the group box at the bottom.
- 13
- Go to the Attributes section.
- 14
- Select the Narrowing, above Stitch ^ / underneath Stitch v, combined transfer module in the list box of the Narrowing group box.
- 15
- Select the value 4 in the Width edit box.
- 16
- Keep the underneath option in the Look
 list box.
- The steppings of the sleeve armhole form an S-curve.