Module data
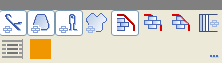
With the following icon you can specify:
- The module insert into the border area of the selection
- The module insert at the border of a protected area
- The insert of module attributes into the pattern
|
|
Function |
Target |
|---|---|---|
|
|
|
The color within the fabric is retained. |
|
|
|
Only the color from the module is inserted in the fabric. |
|
|
|
Insert stitch length of the module into the fabric. |
|
|
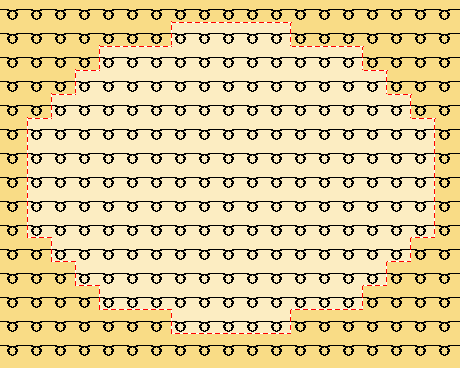
Free Border |
An imagined rectangle is laid around the existing selection. Starting from the lower left corner of this rectangle, an invisible grid is laid over the rectangle. The fields of the grid are the size of the selected module. The module is only filled in the fields that are located completely within the selection. The fields that are only located partially within the selection remain blank. |
|
|
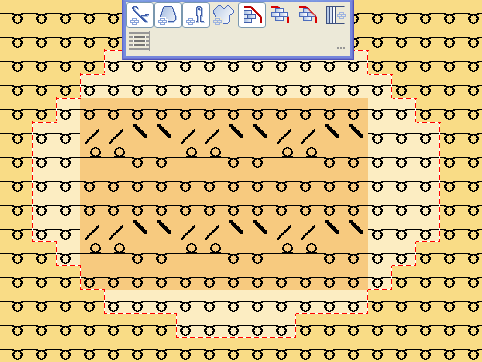
Border covered |
An imagined rectangle is laid around the existing selection. Starting from the lower left corner of this rectangle, an invisible grid is laid over the rectangle. The fields of the grid are the size of the selected module. The module is filled in the fields that are located in the selection. In contrast to edge free, the fields that are only partially found in the selection are also filled. |
|
|
Exact to Border |
An imagined rectangle is laid around the existing selection. Starting from the lower left corner of this rectangle, an invisible grid is laid over the rectangle. The fields of the grid are the size of the selected module. The module is filled in the fields that are located completely within the selection. In the fields that are only partially found in the selection, the modules are cut off so that they fit exactly in the selection. Transfer actions with receiving needles outside the selection are not cut off. Cursor functions that have the size of one needle pair are always filled up to the edge. |
|
|
|
Insert shape data of the module into the fabric. |
|
|
|
Data of the current pattern element or modules are transferred into the control columns. |
|
|
|
Activate or deactivate the direct insertion mode. |
|
|
|
Switch between original color and editable color. |
|
|
|
A module with plating yarn is selected. |
|
|
|
Open a dialog box with further module colors. |

 : Each disconnected selection is considered independently.


You can combine the settings , and (

 ) as desired.
Example: Fill the cable module 2x2< in a polygon (selected area):
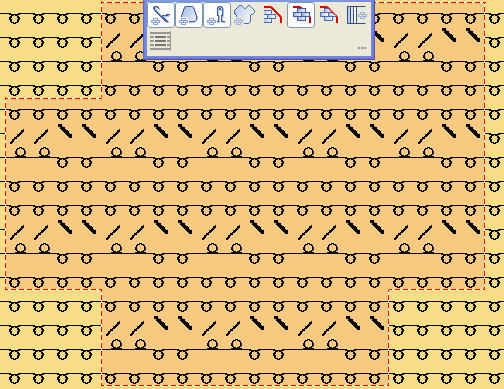
With this toolbar you can specify how the modules are inserted at the edge of the selection in the pattern, which module attributes are adopted to the pattern and under Apply, which settings of the modules are applied during insertion.
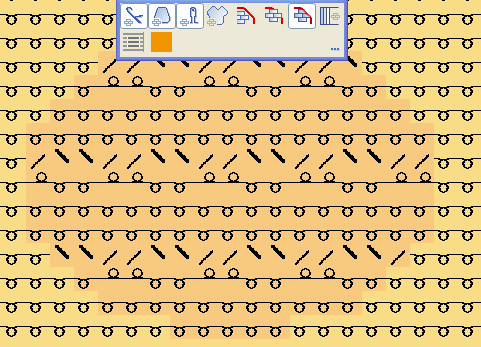
If you want to insert a module with a module color other than the existing one into the fabric, then you do not need to change the module color in the module. It is sufficient to select the new color from the toolbar. This color is referred to as the editing color. It is framed in the toolbar with the module color. Module color
 Editing color
Select editing color with multicolor modules:
- 1
- Click on the editing color in the toolbar.
- 2
- Select module.
- 3
- Click on the module color to be replaced with the editing color in the toolbar.
The editing color is removed again with the function in the context menu of the toolbar. The context menu appears in which you click on any desired symbol of the toolbar with the right mouse button.
You can copy any desired area from the pattern to the paste buffer as a pattern element. The contents of the paste buffer is visible in the Pattern elements module group in the . The pattern element is not automatically saved in the module database. During insertion from the Clipboard to the pattern, the contents of the Clipboard is considered a module and you can decide with the toolbar whether you want to insert only the needle action(s), only the color(s) or needle action(s) and color(s) in the pattern.