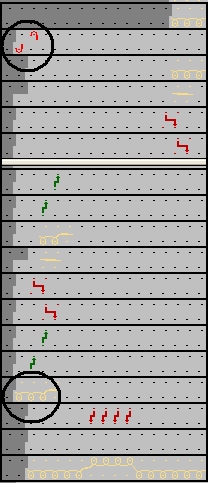
Generate Definition Module (FF)
The Definition Module should insert the cast-off of the fixing stitch directly after the binding-off.
Functions for the left fabric selvedge:
- Transfer all stitches in the binding-off area to the front needle bed
- Pick-up of the fixing stitch
- Binding-off the defined area
- Casting-off the fixing stitch
- Processing the pattern row
You need the following modules.
- Optional transfer to the front (Transfer v)
The icon Optional transfer to the front is visible only after deactivating in the menu.
 - Casting-off the fixing stitch
- Binding-off by step module
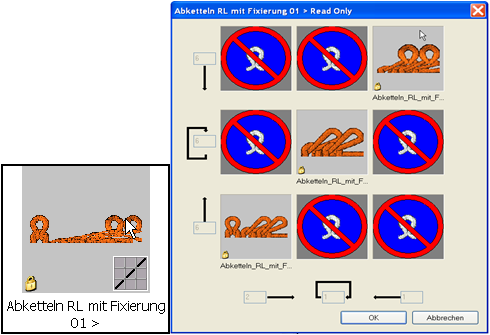
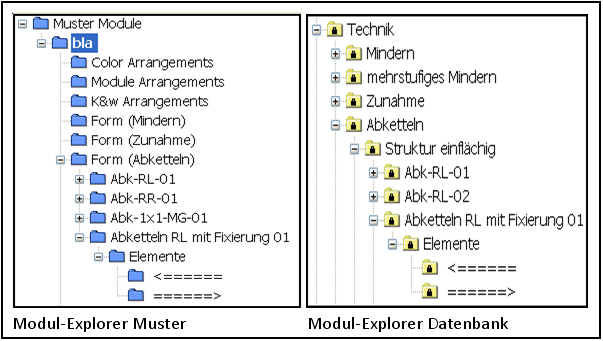
You will find the module in the Module Explorer of the Database under:
Technique/Bind-off/Structure single jersey/Bind-Off RL with fixing 01/Elements
Generate Definition Module:
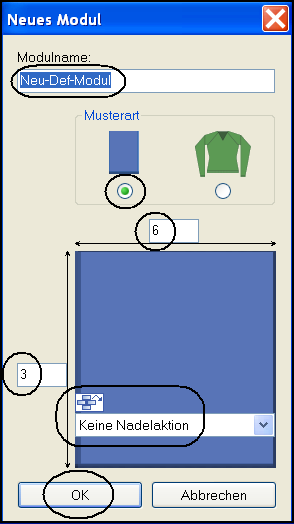
- 1
- Run the function / in the menu.
- New Module dialog box appears
- 2
- Enter a module name.
- 3
- Select .
- 4
- Define module size. Width 6, height 3.
- 5
- Select the needle action selection No needle action.
- 6
- Confirm input with OK.
- The Properties window appears.
- 7
- In the Technique tab, in the General Module Attributes section, in the Direction list box select >.

- 8
- Confirm selection with OK button
 : Only the direction allows the insert of the Step Module with the same direction defined.
 - Module Editor Technical View of the module appears
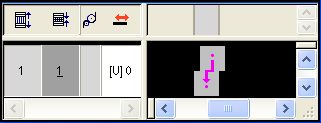
- 9
- Define the stitch length with the value
 Not.
Not.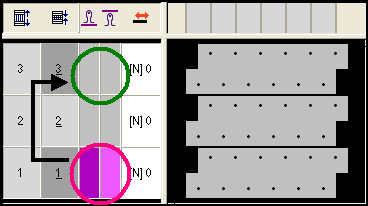
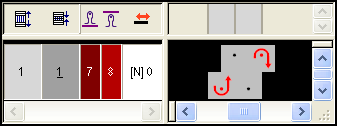
- 10
- Select the Generate Pure Shape dialog box in the menu.
- 11
- Open the shape with F2 key in the Module Editor Symbol View ( Shape View ).
- 12
- Activate the Shape View of the module.
- 13
- Select with the right mouse key Shape Attributes in the Shape View.
- The Shape Attributes dialog box appears
Allocate Optional transfer to the front module:
- 1
- Select the tab in Shape Attributes.
- 2
- Add a new marking with the
 button.
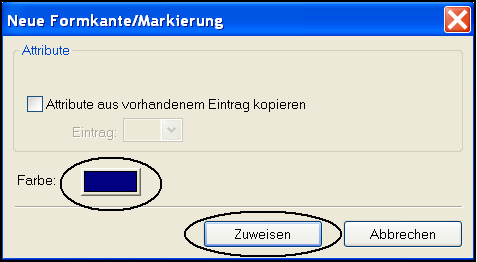
- A new marking is proposed
- 3
- Confirm the selection with the Allocate button.
- New marking is generated
- 4
- Markings must be defined for different sides.
Specify the side of the respective marking in the Shape Attributes dialog box.
 Insert module from left
 Insert module from right
- 5
- Activate marking.
- 6
- Select Left in the list field.

- 7
- Select marking via
 menu.
menu. - 8
- Activate Shape edges in Pattern presentation.
- 9
- Insert the marking into the Technical row 1 of the Shape View.
- 10
- Select marking in Shape Attributes dialog box.
- 11
- Allocate with Drag and Drop the Transfer v module to the
 All knitting modes display field.
Allocate binding-off module:
- 1
- Select the tab in Shape Attributes .
- 2
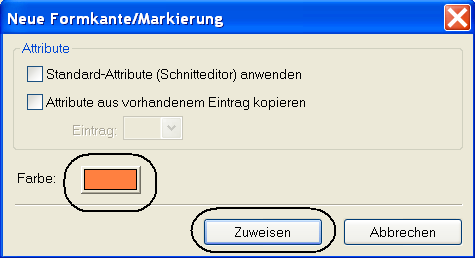
- Add a new edge with the button.
- 3
- Change color of the new edge.
- 4
- Confirm the selection with the Allocate button.
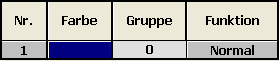
- New edge is generated

- 5
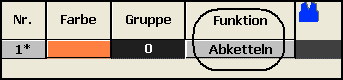
- Select edge via the menu
 , and additionally Shape attribute Binding-off
  with Ctrl key.
 - 6
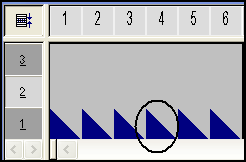
- Enter the binding-off symbol in the first 4 columns of the Technical row 2 in the Shape View .
- 7
- Create a column selection for a width cycle and define it as a Repeatable part.

- 8
- Activate the edge in the Shape Attributes dialog box.
- 9
- Select the binding-off function in the tab.
- 10
- Activate Binding-off in the tab.
- 11
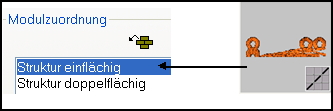
- Allocate with Drag and Drop the Step Module Binding-off RL with fixing 01 in the Single jersey display field.
- 12
- Activate Applies for all knitting modes checkbox.
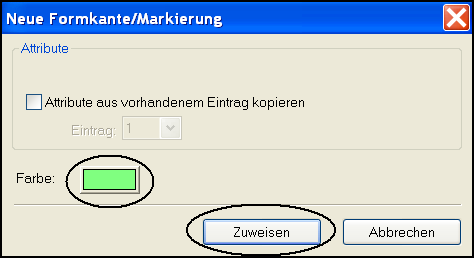
Allocate cast-off module:
The module for casting-off the fixing stitch is two needles wide. The left side needle action is placed outside of the shape, the right-hand side needle action is placed inside of the shape.
The necessary extension to the left side is defined by the value 1=-1 of the module properties.
- 1
- Activate the Shape View of the Definition-Module.
- 2
- Select the tab in Shape Attributes dialog box.
- 3
- Add a new marking with the button.
- New marking is offered.
- 4
- Confirm the selection with the Allocate button.
- New marking is generated.

- 5
- Activate marking 2.
- 6
- Select in the list field Right.

- 7
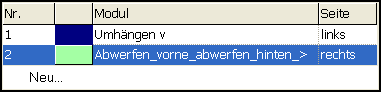
- Allocate with Drag and Drop the Castoff_in_front_castoff_at_rear_> module to the All knitting modes display field.

- 8
- Select marking 2 in the menu.
- 9
- Insert the marking in the Technical row 2, column 1 of the Shape View.
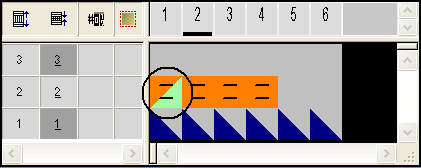
The Technical row 3 remains empty, so that the Pattern row which is to be bound-off, can be processed. - 10
- Activate Module Editor Technical Viewof the Definition Module.
- 11
- Define Technical row 2 as Reference row.
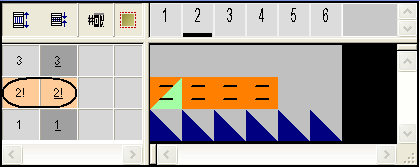
- The reference row will be applied to the Shape View automatically.
- 12
- Save the created modules in a new module knot of the Module Explorer of Pattern, and if necessary, in the Module Explorer of Database .
If necessary create the Definition Module for the left fabric selvedge. - 13
- Assign the Definition Module to the edge.
- Definition modules will be worked out in the Expand entire pattern Steps of Processing.