Create and load shape
I. Generate Pure Shape
- 1
- Run the function in the menu.
- 2
- Select the left and right hand side areas of the fabric with Outside shape with the symbol
 from the Shape attributes toolbar and the drawing tool
  .
. - 3
- Call up the Add missing edges dialog box in the menu.

- 4
- Under the section 8: Fair Isle U is set.
- 5
- Close the dialog box with the OK button.
- 6
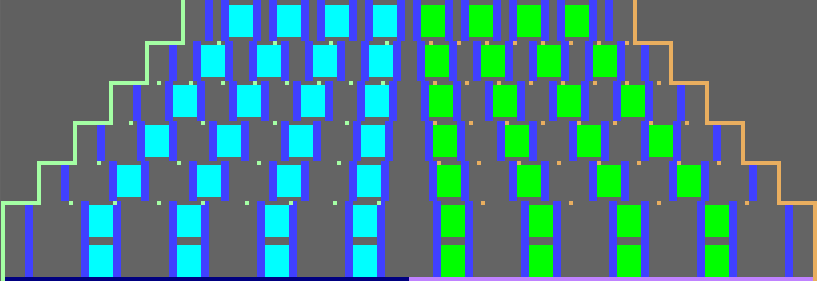
- Activate
 and
and  keys to display the shape edges.
- The edge colors are displayed.
II. Convert and Save Shape
- 1
- Via the menu select .
- 2
- Close the Conversion of shr. -> shp dialog box with the OK button and save the shape.
III. Correct the shape in the Shape Editor
- 1
- Via the menu open the and load the converted shape (.shp).
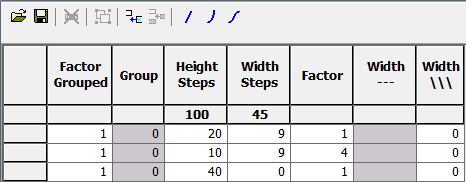
Basic element: Left lines

Lines editor: Line 2 left
- 2
- The Mirrored setting can be activated, as the left and right edge are identical.
- 3
- Select edge line No. 2 in the table of the basic element under .
- 4
- In the dialog box open the tab.
- 5
- Under select the
 multi-step check box.
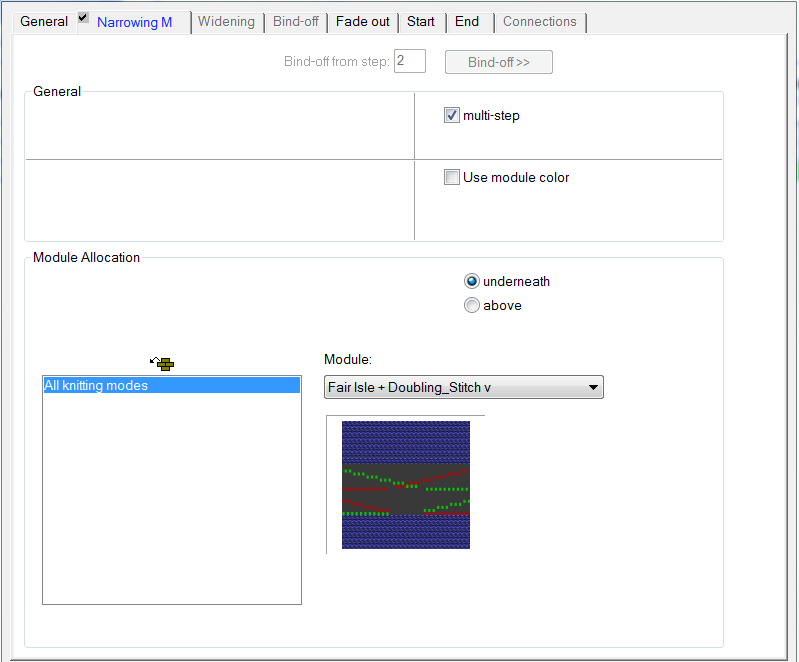
- Fair Isle + Doubling_Stitch v is displayed under module.
- 6
- Close the dialog box with OK and save the shape.
IV.IV. Reposition the shape
- Remove the already positioned shape of the pattern via the / menu.
- 1
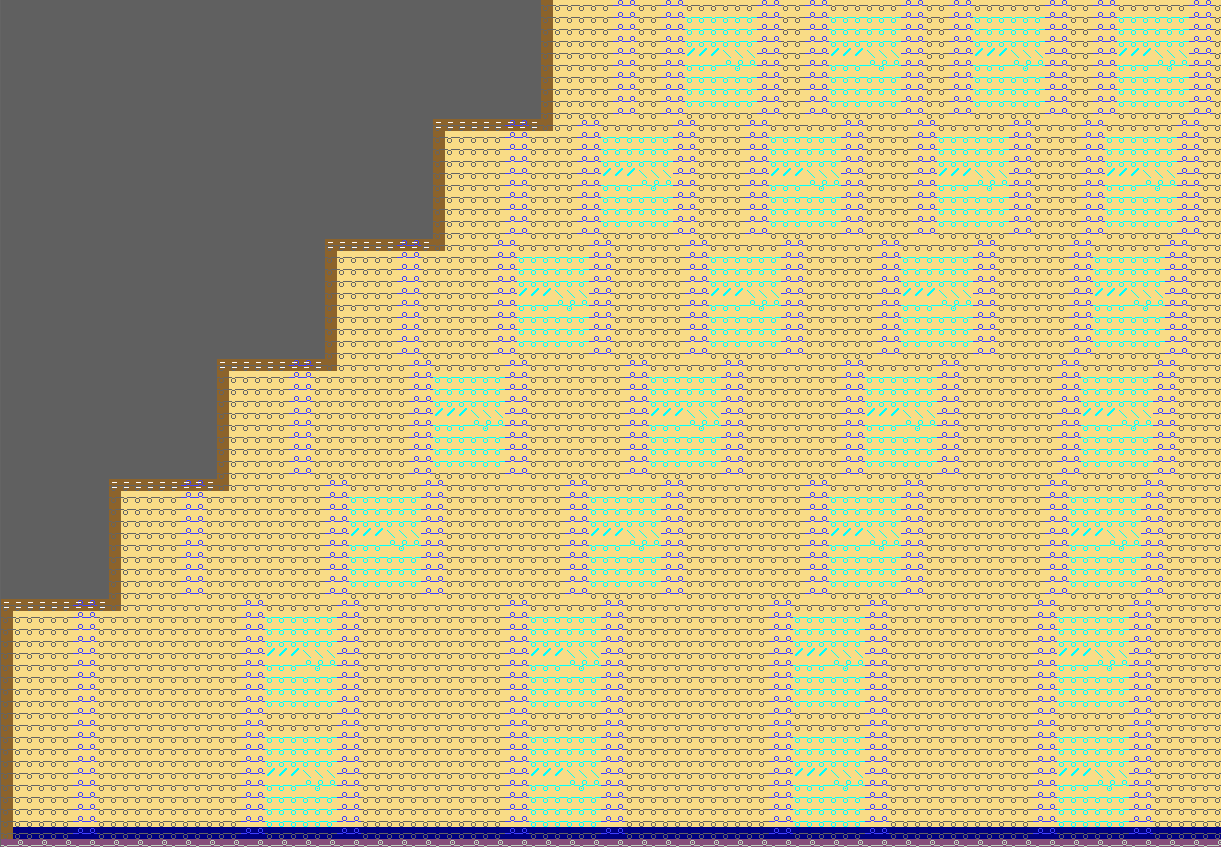
- Place the shape (.shp), edited in the Shape Editor with the menu.
- The fair isle narrowing markings placed equally in the pattern are displayed if and are selected.