Rules for Stamping-out
Select the right shape part colors when loading the shape elements:
- 1
- Open left sleeve
 with Shape Part Color 2
  selected
 - 2
- Open Front
 with Shape Part Color 1
  selected
 - 3
- Open Back
 with Shape Part Color 1 selected
 - 4
- Open Right Sleeve
 with Shape Part Color 3
  selected
 - 5
- Open Collar
 with Shape Part Color 4
  selected
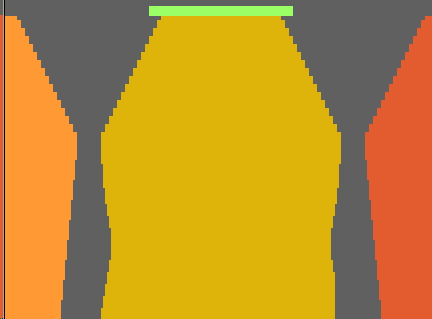
Change basic color #23 (yarn color) of the individual shape elements into the corresponding yarn carrier color:
- Left sleeve: Draw in yarn carrier color #82 up to the sleeve-body connection inclusively.
- Body, sleeve after the sleeve-body connection and collar: Draw in yarn carrier color #79.
- Right sleeve: Draw in yarn carrier color #75 up to the sleeve-body connection inclusively.
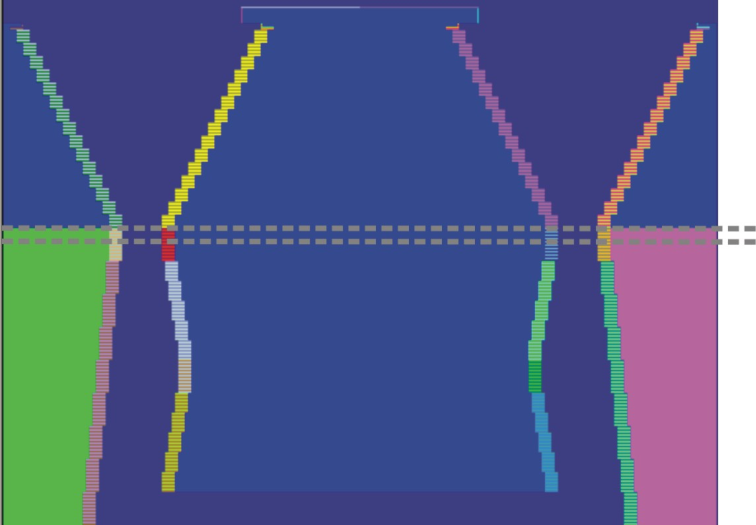
Edit shape edges:
- 1
- Draw in the shape edge colors continuously.
No shape edge without shape edge color.
Result: - The widening will be automatically corrected the right way.
- The information on narrowing and widening of the shape will correctly be read and edited.
- 2
- Delete unnecessary shape edge colors from the table of the Shape Attributes.
E.g. with gore elements, base edges etc. - 3
- Group the shape edge colors having the same attributes.
Use the Separation icon:
- 1
- Separate shape parts e.g. waistcoats, cardigans.
- 2
- Separate existing color fields within a shape part, e.g. within gore element.
You can achieve this results by drawing in different colors.
Use yarn color #10 in gore elements:
- 1
- Draw in yarn color #10 in addition to
 to get overview.
Yarn color #10 will not be performed by the Color Arrangement.
Example: Neck gore element
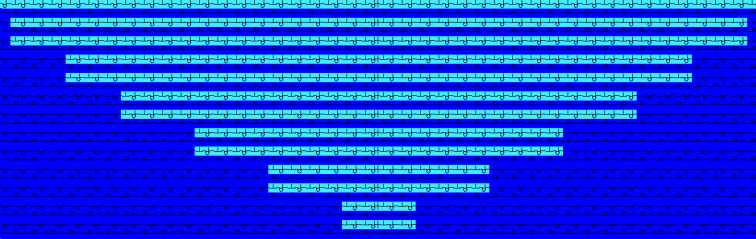
Combine yarn fields:
- 1
- If possible, combine all yarn fields to one yarn field in the Yarn Field Allocation dialog box.
Define in the Color Arrangement:
- 1
- Do not set a search color of the search area to transparent .
- Result: areas clearly allocated to the pattern
- 2
- Group all settings of the same reference row to one pattern row.
- Result: correct yarn fields without unnecessary knitting in and out.
Define a new pattern row for each knitting instruction If the reference rows can not be grouped.
- 1
- Do not specify carriage directions for transferring rows.
The carriage direction will be removed with expanding.
- 1
- Set the stitch length of reference rows to .
- 2
- Define the stitch lengths of additional rows.
- 3
- Insert only necessary (simple) narrowing instructions
 .
. - Result: plain CA.