How to Avoid Additional Colors
Due to / , Photoshop creates a gradient at all edges.
This may result in unwanted additional colors in the artwork.
 Important:
- Use the pen with hard outline as default drawing tool.
- Set the size to 1 pixel
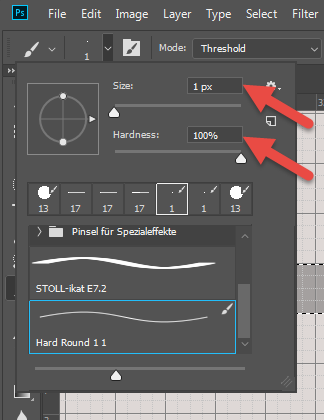
- Each pixel corresponds to one stitch.
You can draw the motif stitch by stitch then. - Use these settings for all drawing and selection tools:

You can create, select and save your own brushes corresponding to the gauge in order to create artworks for Stoll-ikat plating®.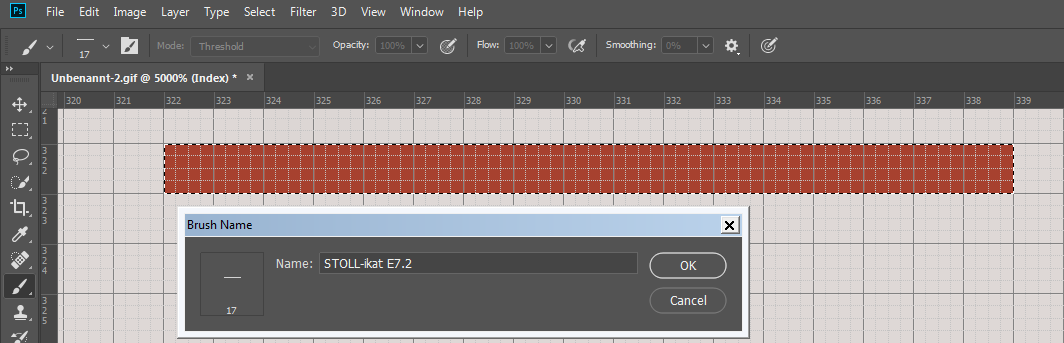
Unwanted additional colors may occur due to modifying the size of an artwork as well.
Modification of the image size via / or / .
-
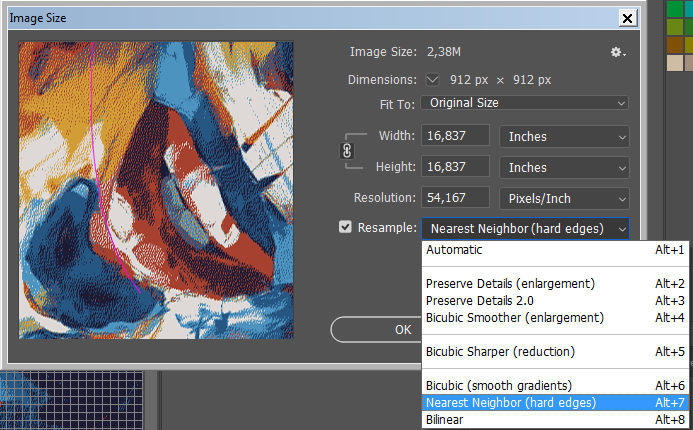
The setting prevents color shading when changing the image size. 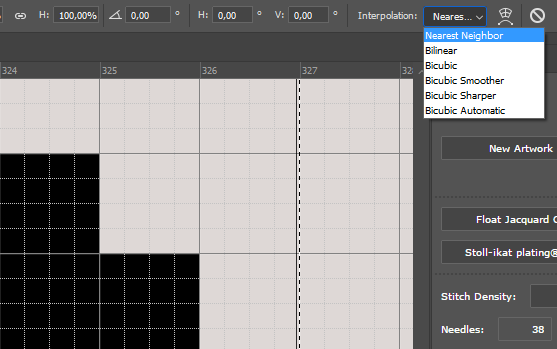
The setting prevents color shading when transforming.
Change the image mode from to to avoid it.
/ /
Scale the image size in the mode.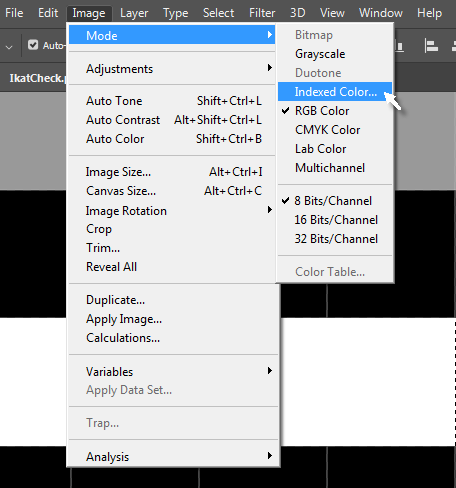
Attention:
All layers will be reduced to one by the mode!
Change back to the mode to work further with layers.
Additional Information