Processing Step: Technical Processing
Technical processing of an individual pattern:
- 1
- Select the desired pattern for the technical processing in the Patterns ribbon under Home
 .
.
- or –
Open the desired pattern in the Patterns tool window double clicking. - 2
- Start the technical processing for the selected pattern by the
 button in the Home ribbon under Technique.
 - The result is shown in the
 document window by an unprotected symbol view.
|
Design Pattern |
Processed Symbol View (not write-protected) |
|---|---|
|
|
|
|
Before Technical Processing: |
After Technical Processing:
|
|
| |
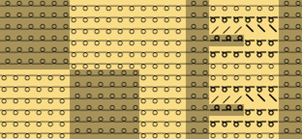
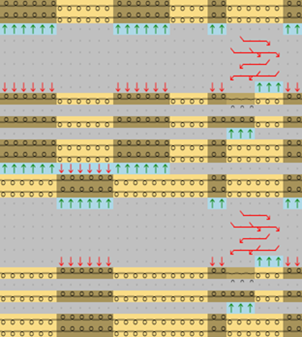
 : The pattern will completely be processed and checked by all technical rules.
- 3
- Close the document windows by
 in the tab of the document windows.
- The data will not get lost and can at any time be shown and edited in a document window by the Symbol button.
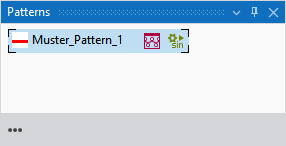
- The success of technical processing is shown by in the Patterns tool window behind the pattern name.
|
| |
|
|
Technical Processing successfully performed |
|
|
Outdated technical processing
|

Changes will be overwritten by re-processing .
Multiple Selection of Patterns for Technical Processing:
You can select several patterns for technical processing to start it more quickly.
- Several patterns are created.
- 1
- Click the
 Processing button in the Start ribbon under Multiple Processing
.
Processing button in the Start ribbon under Multiple Processing
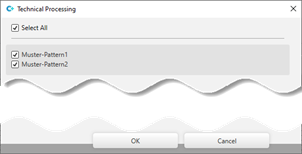
. - The Technical Processing dialog box appears.
- 2
- Select the desired setting.
You cannot start the technical processing for patterns greyed-out as data may be missing.
- 1
- Close the dialog box with OK.
- The technical processing is done automatically and shown by in the Patterns tool window.
- 2
- Close the document windows by in the tab of the document windows.
- The data will not get lost and can at any time be shown and edited in a document window by the Symbol button.
- Successful processing is shown in the Patterns tool window by behind the pattern name.