Make settings for racking corrections in the knitting element
With STOLL knitting elements, the racking correction index (VCI) is used by default.
Enter settings for a racking correction in a local knitting element:
All the knitting elements drawn in the pattern which came out of the Knit Explorer are saved as local knitting elements in the Pattern Project.
- The settings for a racking correction referred to transfer rows are to be entered into a local knitting element in the
 Design Pattern.
 - The
 control column can be displayed in Design Pattern, but without entries, as no transfer rows are displayed.
- 1
- Open the existing project and save it with a new name via the File / Save As menu.
- or -
Create new Pattern Project with one individual pattern and draw-in structure. - 2
- Open local knitting element with double-click.
- 3
- Display the control column in the Knitting Element editor.
- 4
- In the
 Cable stitch 3x3 window, position the cursor on the control column and tap the RMB.
 - The context menu for the racking correction (VCI) appears.
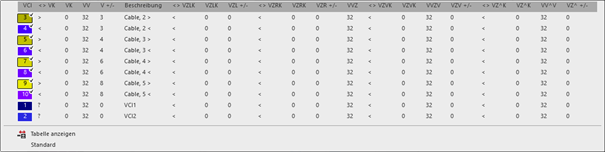
- All the racking correction indices (VCI) used in the Cable stitch 3x3 knitting element are displayed and are marked with the
 symbol.
Note:
In the knitting elements, the structures for knitting on all needles are managed and also for 1x1 technique. This means, that there is entered a racking correction value for all racking courses in the knitting element. - The entries marked as favorites in the Racking section / of the Defaulttab in the Pattern Parameters
tool window are displayed.
- 5
- Select the desired racking correction and enter it in the control column.
The racking correction index (VCI) shown in the context menu correspond to the table in the Pattern Parameters
tool window under the Racking section of the User
tab.