Step by Step to 'Pattern-12'
- A pattern project with one pattern and the desired settings is created.
- 1
- To draw select any desired drawing tool under the Dessiner group.
- 2
- In the Couleurs de dessin tool window, select the desired pattern colors from the Couleurs de fil color palette to draw the motif:
- 3
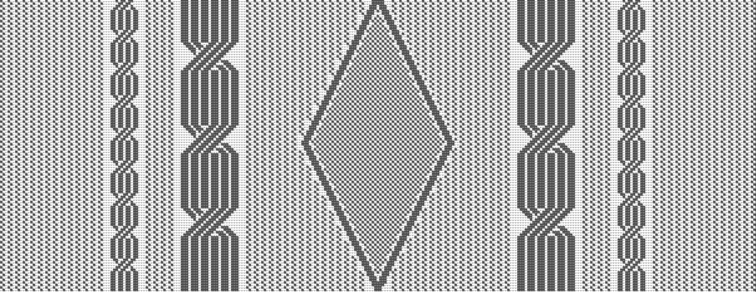
- Draw the desired motif in the
 Dessin de conception.
 : The motif in the example begins in the third pattern row.
|
| |
|
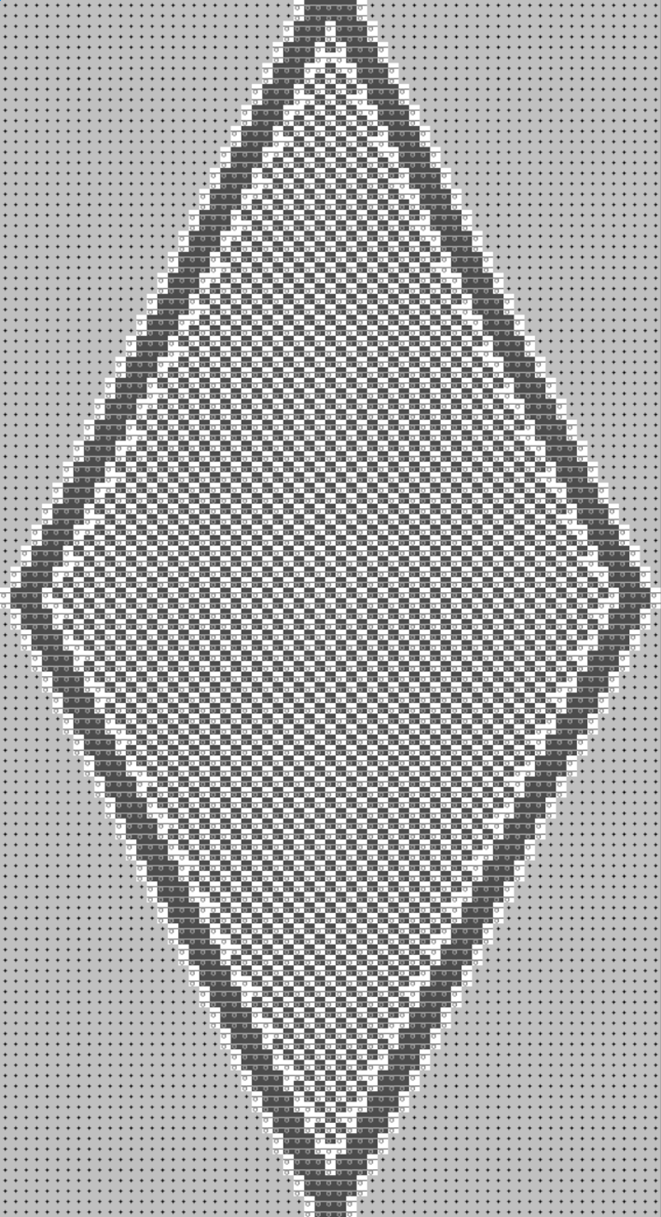
Pattern Elements | |
|
MT_PE_1 |
MT_PE_4 |
|
|
|
|
MT_PE_2 | |
|
| |
|
MT_PE_3 | |
|
| |

- 4
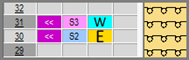
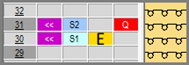
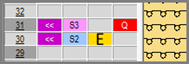
- In the Rangée du dessin control column, select the pattern rows 3 and 4.
- 5
- Call up the context menu and select Sélection
/
 Créer un Color Arrangement...
.
Créer un Color Arrangement...
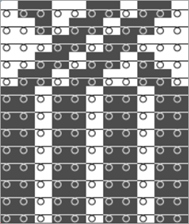
. - The Color Arrangement editor appears with the default CA.
- 6
- Make the desired changes in the Color Arrangement:
- In the processing area:
- Insert additional rows for the pattern related transferring and draw-in Transfer to front or Transferring optionally to the front.
- Insert the rows for the additional yarn carrier 'weft yarn'.
- Modifications in Control Columns
- Control column Direction du chariot

- Control column Système

- Control column Presse W

- Control column Correction de presse

- Control column Décalage de vanisage (YPI)

|
Color Arrangement CA1 |
|
|
Control Columns:
-
 Presse W (weft yarn presser foot)
 -
 Presse E (knitting-in presser foot)
: These control columns can be used in the design pattern and in the Color Arrangement editor as well.
|
Control Column | |
|
| |
|
1 |
Selection of the presser foot type mounted to the machine Example:
|
|
2 |
Switch W presser foot on
|
|
| |
|
Control Column | |
|
| |
|
1 |
Selection of the presser foot type mounted to the machine |
|
2 |
Activate the E presser foot
|

|
|
System 1 |
The E presser foot is activated |
Result: The presser feet collide. |
|
System 2 |
The W presser foot is activated | ||
|
|
System 2 |
The E presser foot is activated | |
|
System 3 |
The W presser foot is activated | ||
|
|
System 1 |
The E presser foot is activated |
Result: Presser foot collides with weft yarn carrier |
|
System 2 |
W yarn carrier active | ||
|
|
System 2 |
The E presser foot is activated | |
|
System 3 |
Weft yarn carrier active |
Activating the Presser Feet
Attention!
Presser feet at front and rear must not be activated at the same time, otherwise they will collide.
These unallowed combinations will be detected by the technical processing and the processing will be canceled.
Needle actions for the weft yarn:
|
Needle Action |
Meaning |
|---|---|
|
|
The yarn carrier (weft yarn) runs before the knitting system with which transferring to the back over the weft yarn is performed. |
|
|
The yarn carrier (weft yarn) runs before the knitting system with which transferring to the front over the weft yarn is performed. |
|
|
The system that precedes the weft yarn transfers the stitches to the front. The yarn carrier (weft yarn) runs before the knitting system with which transferring to the back over the weft yarn is performed. |
|
|
The system that precedes the weft yarn transfers the stitches to the rear. The yarn carrier (weft yarn) runs before the knitting system with which transferring to the front over the weft yarn is performed. |
|
|
The yarn carrier (weft yarn) runs before the knitting system which raises needles of the front needle bed without a yarn carrier over the weft yarn. The front stitch is cast-off. In contrast to transferring, the opposite needle is not driven out for receiving. |
|
|
The yarn carrier (weft yarn) runs before the knitting system which raises needles of the rear needle bed without a yarn carrier over the weft yarn. The rear stitch is cast-off. In contrast to transferring, the opposite needle is not driven out for receiving. |
|
| |


Apply the symbols for the weft yarn in the Color Arrangement:
- Insert a
 for the weft yarn carrier into the
  Décalage de vanisage (YPI) control column.
|
Symbol |
Meaning |
|---|---|
|
|
Possible definition for a yarn carrier as weft yarn carrier
|
 dialog box
- 7
- Check the generated Color Arrangement on correct entries with the
 Vérifier button.: The knitting procedure cannot be checked!
 - 8
- Enter the generated Color Arrangement via the
 control column into the total pattern height of the design pattern.
 - 9
- Select the
 Coupes tab of the tool window and create a new shape.
 - 10
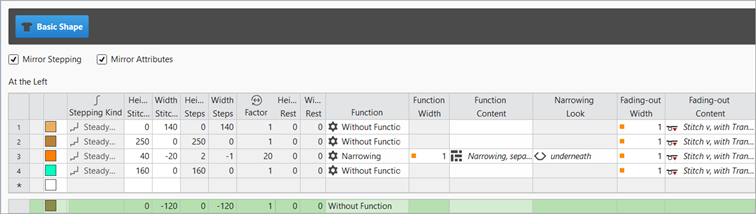
- Insert new shape lines in the table and enter the desired values for the basic shape.
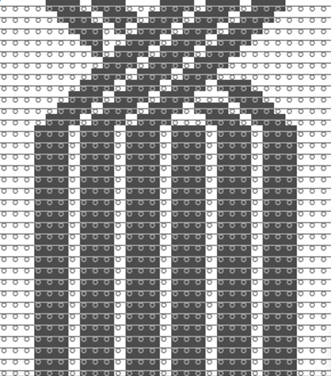
Example: Lined shape for Pattern-12
|
Basic Shape: Front |
|
|
|
|
- 11
- Allocate the desired attributes to the shape edges.
- 12
- Position the shape on the Dessin de conception.
- 13
- If necessary, make the desired settings in the
 Guide-fil tool window.
 - 14
- If desired, make the desired presets in the following control columns:
- Stitch Length (NP)
- Tirage principal (WMF)
- Vitesse (MSEC)
- 15
- Carry out all the steps of processing.
 : The extracted file "ADF530-32W.Pattern-12.zip" can be loaded onto the machine with an USB stick or via Ethernet.