Step by Step to Pattern-9 without Shape
Multi gauge knitting technique
This knitting technique is based on the intarsia knitting technique as the neighboring areas (coarse - fine) in one knitting row are knitted with different yarn carriers.
Machines with the multi gauges (mg) E1,5.2 to E10.2 are used, in order to achieve fabrics of high quality.
 : Using Intarsia yarn carriers is recommended.
|
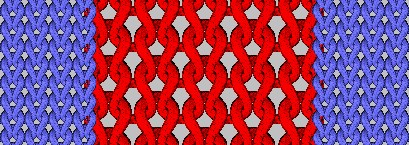
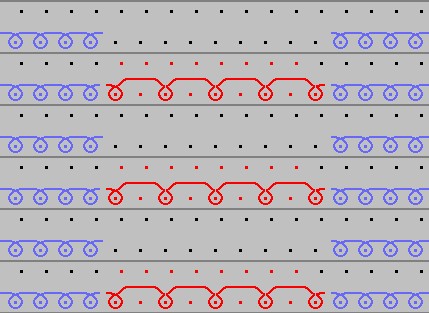
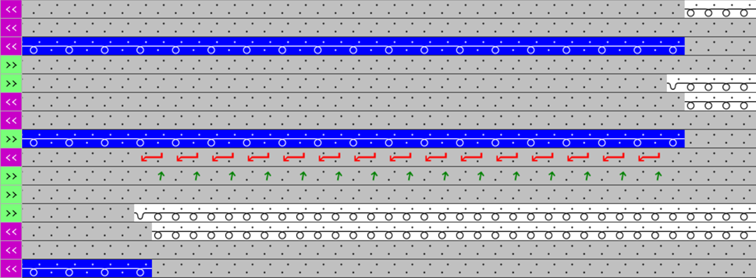
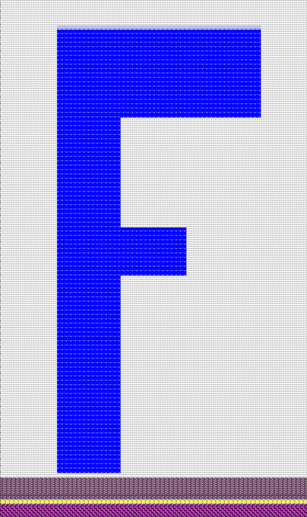
Stitch presentation before technical processing |
Stitch line before technical processing |
|
|
|
|
|
|
| |
|
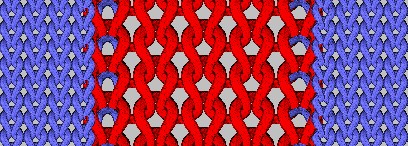
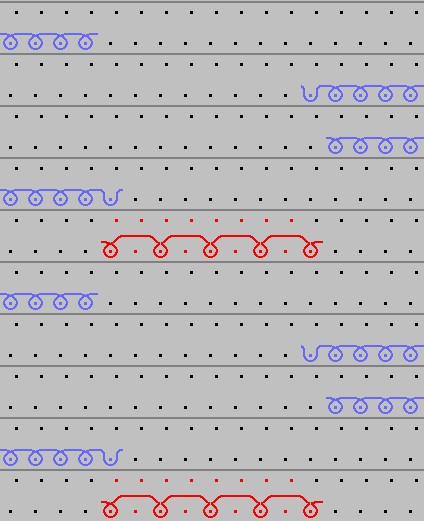
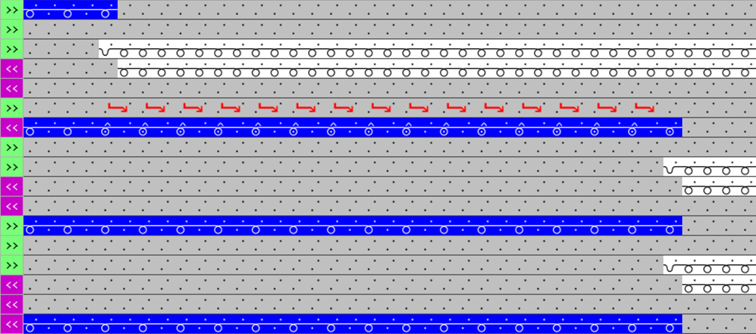
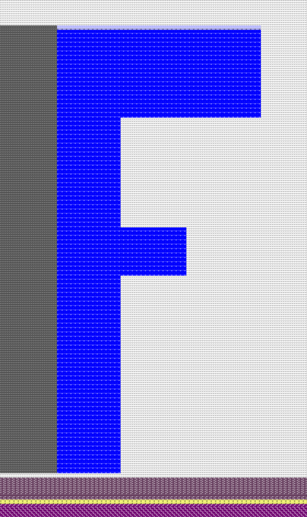
Stitch presentation after technical processing |
Stitch line after technical processing |
|
|
Intarsia binding at the border of the color areas:
|
|
Transition for the area from mg fine to mg coarse |
|
Transição mg, fino para grosso |
|
|
|
Transitions for the area from mg coarse to mg fine |
|
mg, início, split grosso |
|
Recommendation:
|
|
|
|
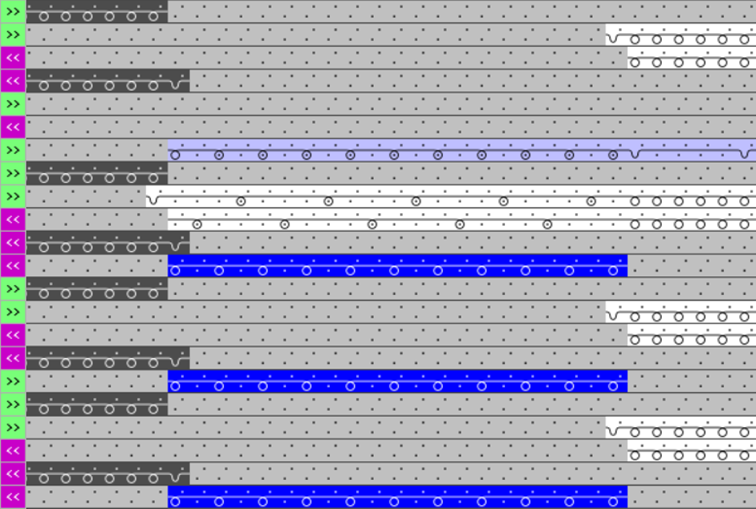
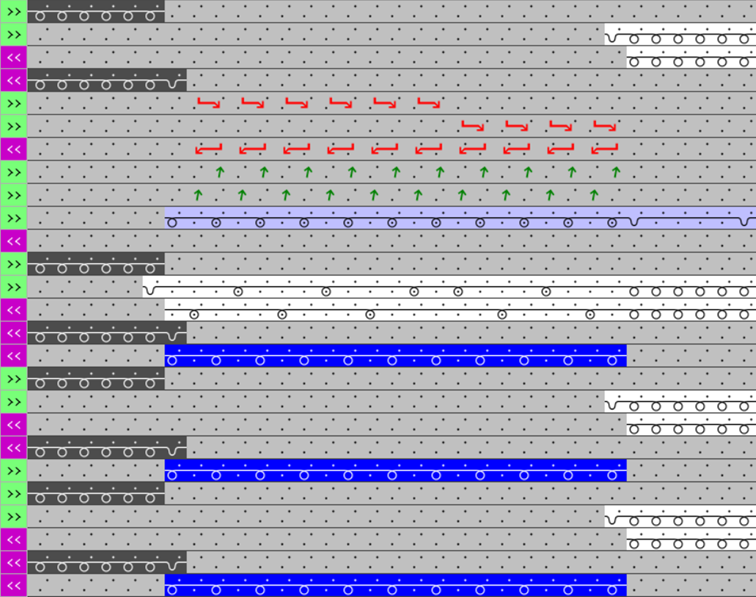
mg, início, Malha fina |
|
|
|
|
|
mg, Pick-up, Stitch Fine, Transfer |
|
|
Step by step to Pattern-9 without shape:
- A pattern project with one pattern and the desired settings is created.
- 1
- Select any desired drawing tool under the Desenhar group.
- 2
- In the Cores da amostra tool window, select the desired pattern colors from the Cores de fio color palette to draw the motif:
- Cores de fio:
-
: The yarn carriers are not automatically placed on the yarn carrier rails.
The yarn carrier home position is determined in the Processamento técnico.
- 3
- Draw the desired motif in the
 Amostra de desenho with knitting elements from the Depósito de elementos de tricotagem of the
  Knit Explorer:
- Directory Módulos de estrutura / multi gauge grosso
- Directory Partes de amostra / Partes de amostra, multi gauge grosso
|
Example | |
|
|
Pattern neckline
For the yarn color #1 (white) there is a table entry in the Parâmetros de cor table. |
|
| |
|
|
|

- 4
- In the Amostra de desenho adjust the motif for the specifications with Guia-fiosaccordingly, if desired.
- 5
- Carry out
 Processamento
técnico if necessary.: After carrying out the Processamento
técnico you are able to view and weigh up the result of the automatic processing, if corrections / optimizations are necessary.
Processamento
técnico if necessary.: After carrying out the Processamento
técnico you are able to view and weigh up the result of the automatic processing, if corrections / optimizations are necessary. - 6
- Back to the Amostra de desenho to make pattern-related changes.
- 7
- Open the Guia-fios tool window for this purpose.
- 8
- In the Parâmetros de cor table make the desired changes in the following groups, if necessary:
- Entrar-sair tecendo
- Conexão intarsia
- Processamento de ourelas
-
 Escalonamento permitido das fileiras multi gauge
 -
 Módulo para processamento de ourelas, transição mg grosso para mg fino
- 9
- If desired, make the desired presets in the following control columns:
- Stitch Length (NP)
- Estirador principal (WMF)
- Velocidade (MSEC)
- 10
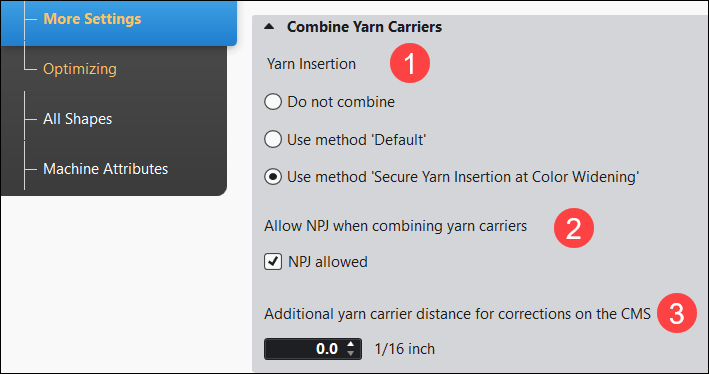
- If necessary, make the desired presets for combining yarn carriers in the Outras configurações tab of the Configuração dialog box.
Several yarn carriers are combined in one system by the technical processing (knitting sequence) to optimize the production time.
:
The yarn carriers will be combined only if this is possible based on the color field distances.
The result is visible in the  Vista de símbolos after the technical processing.
Options in the Configuração dialog box
- 1
- In the ribbon select the
 Configuração button.
 - The dialog box appears.
- 2
- Select the Outras configurações tab.
- 3
- Make the desired presettings for the Agrupar guia-fios.
-
Yarn Insertion:
 Introdução do fio segura no alargamento da cor is active (standard)
|
| ||||
|
1 |
Yarn Insertion | |||
|
|
Do not combine (Default setting) | |||
|
No automatic combining of the yarn carriers.
| ||||
|
|
Default | |||
|
Automatic combining of the yarn carriers, where the result cannot be influenced.
| ||||
|
|
Introdução do fio segura no alargamento da cor | |||
|
Automatic, uniform combining of the yarn carriers with an optimized knitting process for secure yarn insertion with the tuck binding.
| ||||
|
2 |
Permitir NPJ ao agrupar guia-fios | |||
|
|
NPJ permitido (default setting)
Result: | |||
|
|
NPJ permitido is disabled
Result: | |||
|
3 |
Distância de guia-fios adicional para correções na CMS | |||
|
|
Adjust the safety distance in order to make corrections on the machine (YC/YCI in the setup).
| |||


- 11
- Start the Processamento
técnico.
With the button, show . - The yarn carriers are automatically combined after the set specifications and the Intarsia rules (constructive facts of the Intarsia yarn carriers on the machine).
- 12
- Generate
 Sintral.
 - 13
- Start the
 Controle Sintral.
 - 14
-
 Extrair the knitting program.
 - A program for the knitting machine will be created: CMS530.Pattern-9.zip
- 15
- Load knitting program into the machine.
 : The extracted file CMS530.Pattern-9.zip can be loaded onto the machine with an USB stick or via Ethernet.