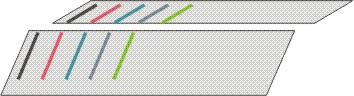
Knitting with racked beds
The Jacquard selection on the rear needle bed will be influenced based on the commands VJA^1 and VJA^0.
Presentation | Command | Function |
|---|---|---|
| VJA^1(Standard) | The jacquard selection on the rear is moved in relation to the front needle bed accordingly to the racking |
| ||
| VJA^0 | Even with racking, the jacquard selection on the rear is kept unchanged in relation to the front needle bed. |
|
Working with Knitting in Racking:
- 1
- Open a new pattern.
- 2
- Display the control column (Rear jacquard selection).
- 3
- Insert for the desired area in the VJA control column.
From the last row of the start to last row of the motif.
- The needle bed racking will no longer be displayed.
- 4
- Define the rackings for the knitting rows alternatively.
For example: V0 - VR1 - V0 - VR1. - 5
- Draw with the desired modules in direction of the racking.
For example:
continually Left stitch with transfer in continuation for a straight rib.
Petinet for stitches going inclinated:
Petinet to the right in pattern rows with racking position V0
Petinet to the left in pattern rows with racking position VR1
- 6
- Draw modules which your are generating yourself, normally:
Pattern row in racking position V0
Direction of transfer to VR1 or VL1, as the modules will be inserted relatively.
Make no special settings. - 7
- Insert the necessary auto transferring into a separate row before the technical processing.
The row alignment for it will be done by the technical processing.
The rows will be combined accordingly with it.
The technical rule Transfer surrounding controls the collecting and re-allocation of the stitches of the rear needle bed with needle bed racking.
This rule reacts in differently to needle actions with or without transfer.
- 8
- If left stitches should go inclinated:
Left stitches must remain on the rear needle be during the racking.
Insert Stitches without transfer into the same column into the row following the stitches to be moved.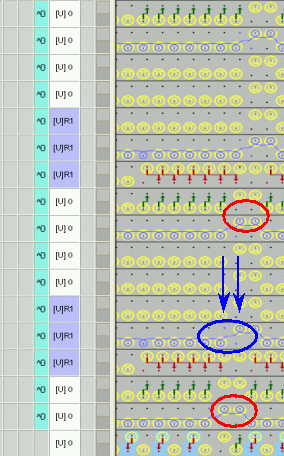
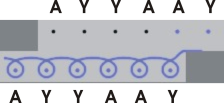
Red circle | Stitch with transfer |
|---|---|
Blue circle | Stitch without transfer |
Blue arrow | Affected columns: |
The needle occupancy is show correctly if the stitches with and without transfer are positioned correctly.
- 9
- At the border of a pattern no stitches must be defined on the rear needle bed in the width of the performed racking.
Reason:
With VJA^0 the needle selection of the rear needle bed always remains in relation to the front needle bed.
And due to the racking the stitches at the border would go outside the knitting area and would not be knit. Turn the pattern if you want this by means of the desired pattern technique (such as structure on a single jersey basic).
The front of the pattern will be knit at the rear. - 10
- The needle occupancy will not be calculated for outside shape areas.
Stitches, working on the rear needle bed and being transferred outside shape by the racking, will not be displayed by the needle occupancy.
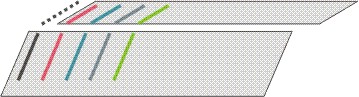
The picture presents (imitated) the stitches remaining on the rear needle bed due to VJA^0 and racking to the left.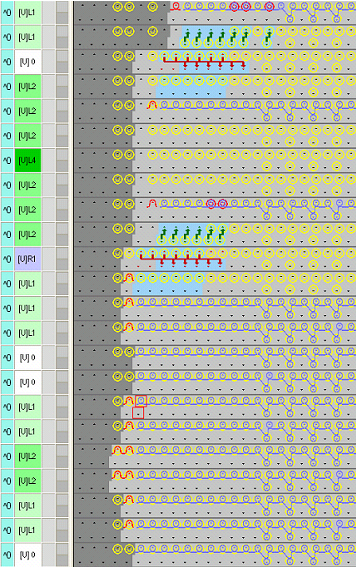
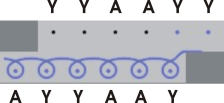
Needle action | Meaning |
|---|---|
| Stitch and needle occupancy outside #L with corresponding racking position. |
| Stitches which will be knitted within the shape. |


- 11
- Draw the straight stitches (e.g. for ribs) with the Back stitch with transfer module.
- The stitch of the rear needle bed will be transferred to the front before a racking by the rule Transfer surrounding of the Technical Processing and will be transferred back to the correct position by the automatical transfer.
Working with pattern elements:
Pattern elements of the pattern may contain empty rows due to transfer rows with racking, which will be inserted as empty rows into the pattern.
By this a different racking may be defined for the knitting row than for the corresponding technical row following up (empty row)!
If rows with different rackings are grouped to one pattern row, then the following modules will not be inserted correctly as the relative module insert refers to the existing racking.
- 1
- Correct the pattern parts before use.
Open the pattern element and delete empty rows (red rectangle) with racking (technical row 2 and 4).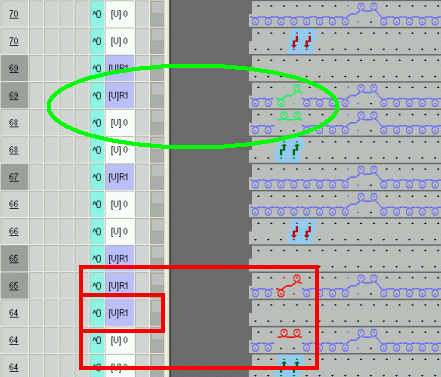
Check before the technical processing:
Manual transfers are not allowed in technical rows with automatical transfer for the re-allocation of the following knitting row.
Due to those transfer actions a sequence of transfer actions would occur during Technical Processing 2.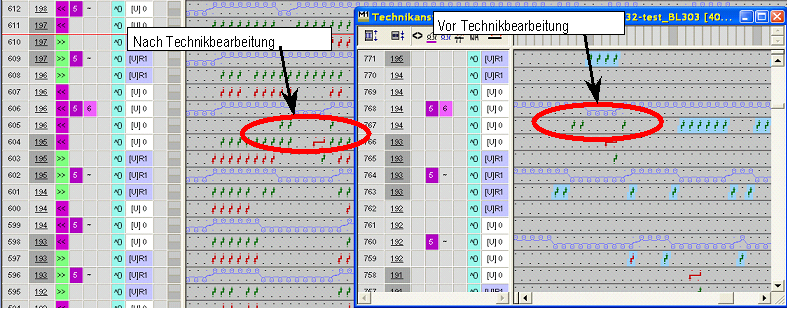
- 2
- Select and delete the whole row.
- The necessary auto-transferring will be inserted by the Technical Processing.
After the technical processing:
Oblique transfer arrows before a knitting row shows the transfer of stitches with racking.
These stitches go along with the racking.
Straight transfer arrows in the same row show re-allocation of the stitches and straight wales. 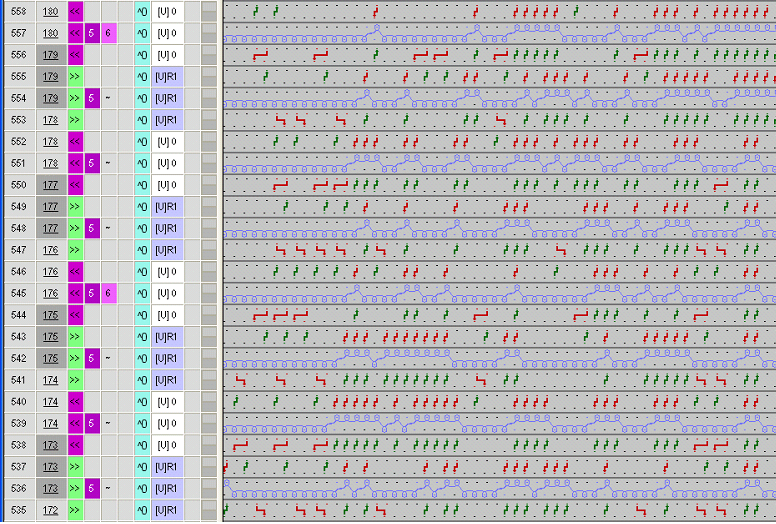
Needle occupancy:
In technical row 226 are double stitches present (column 14 + 15 in the red circle).
This presentation is not correct supposed these are stitches without transfer and the transfer was inserted manually. As there is a change of racking from VL2 to V0 in technical row 225 and the stitches are moved to the left. The needle occupancy is related to the knitting rows. Due to the previous transfer the M1plus knows, that a stitch hangs in this needle and can no more correct the needle occupancy with this knitting row.
In comparison: The stitches besides were not transferred to the rear.
They remain on the front needle bed and will be knit there (technical row 226, column 30 + 31 in the blue circle). This results in a correct needle occupancy of this knitting row.