Draw-in the Plating Colors in the Pattern and load the shape.
I. Enter the created plating colors in the pattern:
- 1
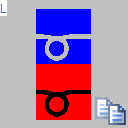
- In the 1st pattern row (1) of the motif overdraw the yarn color #31 with the plating color P1 and the yarn color #4 with the plating color P2.
- 2
- In the 2nd pattern row (2) of the motif overdraw the yarn color #31 with the plating color P3 and the yarn color #4 with the plating color P4.
Result:

- 3
- Create a selection based on the combinations of plating colors drawn-in.
- 4
- Create a pattern element via the / / menu.
|
Pattern Element 1 | Pattern Element 2 |
|---|---|
|
|
- 5
- Fill the motif areas with the
 drawing tool and
  filling mode:
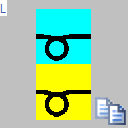
- Pattern element 1 for motif area with yarn color #31
- Pattern element 2 for motif area with yarn color #4
Result:
- 6
- In the module 2x2 - Start draw-in the plating color P5.
- 7
- Via the / menu load the created shape.
- 8
- In the Configuration dialog box in the More Settings tab under make the following selection:
Presets for New Plating Colors
 Stoll-ikat-plating® ( not separated )
 Inverse Plating ( separated to several systems )
- 9
- Specify the desired quantity of needles under up to which you want the technical rows to be separated.
|
Setting for Stoll-ikat-plating® | |
| Max. quantity of needles with separating Result: |
| |

 : Default setting: 2 inch minus one needle calculated on base of the selected machine gauge.
- 10
- Make the desired settings in the Yarn Field Allocation dialog box
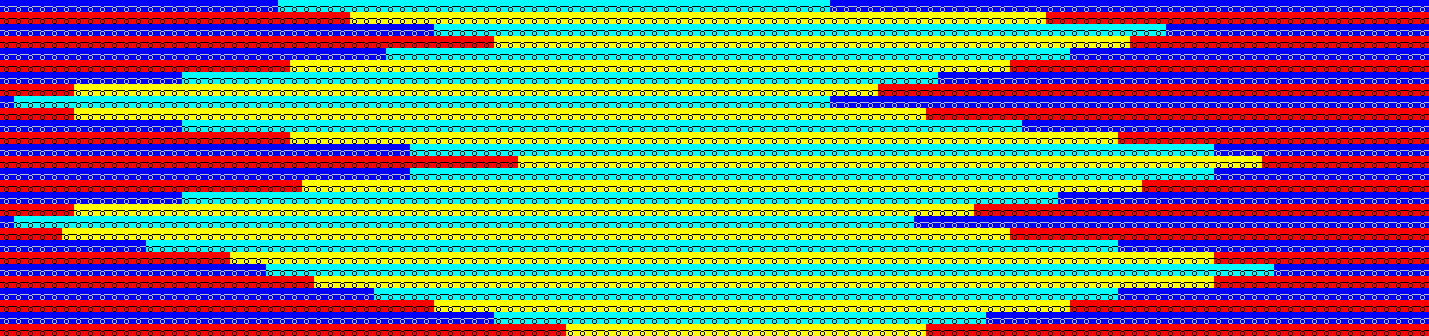
II. Knitting sequence of Stoll-ikat plating®:
Result after technical processing:
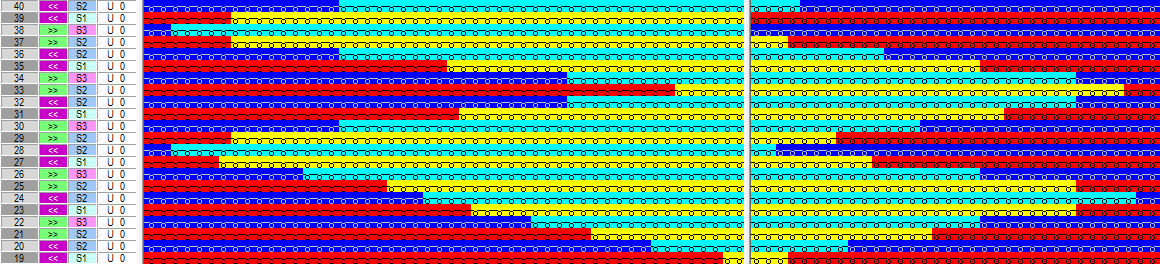
Stoll-ikat plating ®
Inverse plating with changing position of the yarn carriers within the same system.
This means that the pattern rows are not separated into technical rows.