Loading and Positioning the Shape Parts
I. Open shape elements and position them on the basic pattern:
- 1
- Call up the dialog box via the / Open and Position Shape (Stamp out)... menu.
- The Open dialog box will be displayed.
- 2
- Position Shape Part 1 (Collar L0+L1) with:
- Shape part color


- 3
- Position Shape Part 2 (Sleeve L0 ) with:
- Shape part color


- 4
- Position Shape Part 2 (Sleeve L1 ) with:
- Shape part color

- 5
- Position Shape Part 3 (Body L0+L1 ) with:
- Shape part color


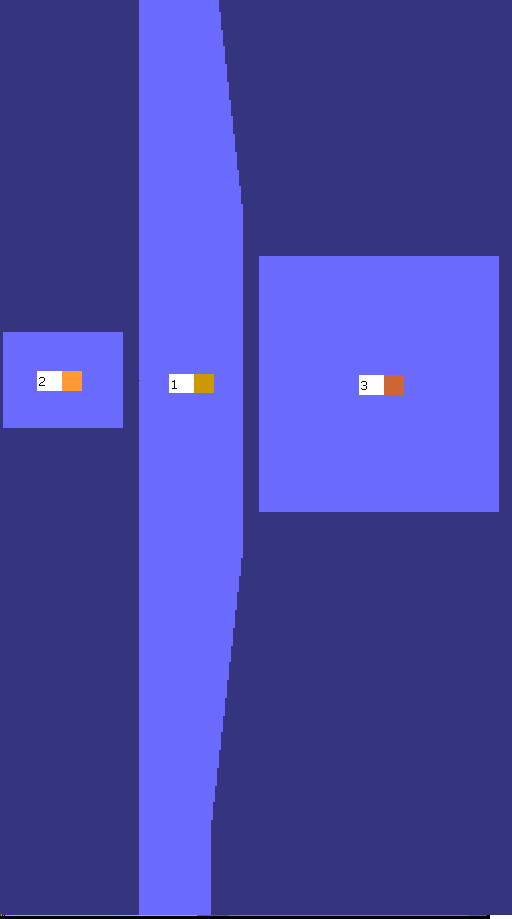
Result:
Shape part colors displayed
 not active
 active
II. Move shape elements:
- and active.
- 1
- Select the
 icon in the Drawing Tools toolbar.
 - 2
- Select shape part 3 (Body) with LMB.
- 3
- Enter 32 in the Tool Properties dialog box and select both layers.
- 4
- Move it to the right with the arrow button.
- The shape element is shifted to the right by 32 columns.
- 5
- Select shape part 3.
- 6
- Enter 16 in the Tool Properties toolbar.
- 7
- Move it to the right with the arrow button.
- Shape part 3 is shifted to the right by 16 columns.
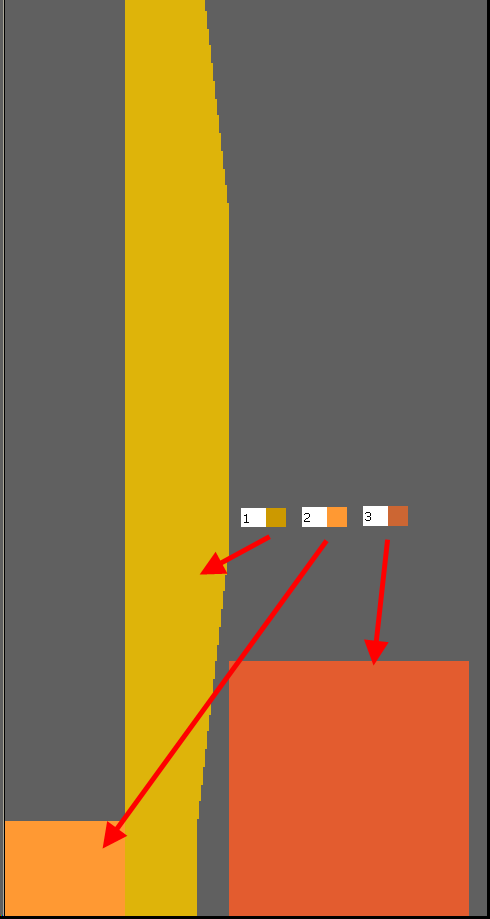
Distance between sleeve-body
The distance between the sleeve-body-sleeve shape parts (2-1-3) is 16 columns each.
This corresponds to a racking by 16 needles.
The distance is gauge-dependent.
- 8
- Select shape part 3 and move it upward.
- Shape part 3 is positioned in the way that there are sufficient rows in sleeve and body for the connection.
Result: