Generate own k&w modules
Generate own k&w module:
- 1
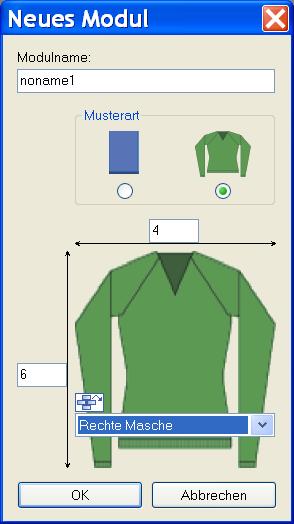
- Call up the New module dialog box via the / / menu.
- 2
- Make settings:
- Module Names
- k&w option
- Specify width / height in stitches.
- Basic pattern
Result:
The module will be presented in k&w technique: Width in 1x1 technique and height in complete rows.
- 3
- Confirm settings with OK.
- The Properties of: XX dialog box appears.
- 4
- Open the ones of the tab and make settings:
|
Setting |
Setting |
Function |
|---|---|---|
|
k&w module |
|
Default: Automatic allocation of the k&w layer set |
|
|
No allocation of the k&w layer | |
|
Do not move the structure transfer over the other layer |
|
The structure transfer (non-automatic transfer) is carried out before knitting the other layer. |
|
|
The structure transfer (non-automatic transfer) is carried out after knitting the other layer. (Default) | |
|
Knitting layer |
No setting |
Application on front layer and back layer |
|
Front |
Application only on front layer | |
|
Back |
Application only on back layer |


- 5
- Confirm the settings in the dialog box with OK.
- 6
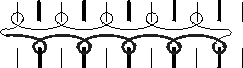
- Draw the desired structure with knit and wear binding elements in the Module editor.
- When drawing with the knit and wear binding elements, the knitting and the column layer are automatically taken into account.
- Modules of layer L1 (back) start always with stitch on the left side.
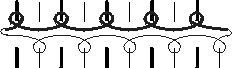
- Modules of layer L0 (front) start always with float on the left side.
- 7
- If necessary, change the layer allocation via the control column in knitting rows.
- 8
- If necessary, change the column layer allocation via the / menu.
With k&w modules, the column layer is set automatically.
- 9
- Close the Module Editor with
 .
.
- The module is saved under New Modules in the .