Combine and position the individual shapes to form a k&w shape:
I. Combine individual shape elements to form a k&w shape:
The individual shapes were generated in the Shape editor and saved in a directory.
- 1
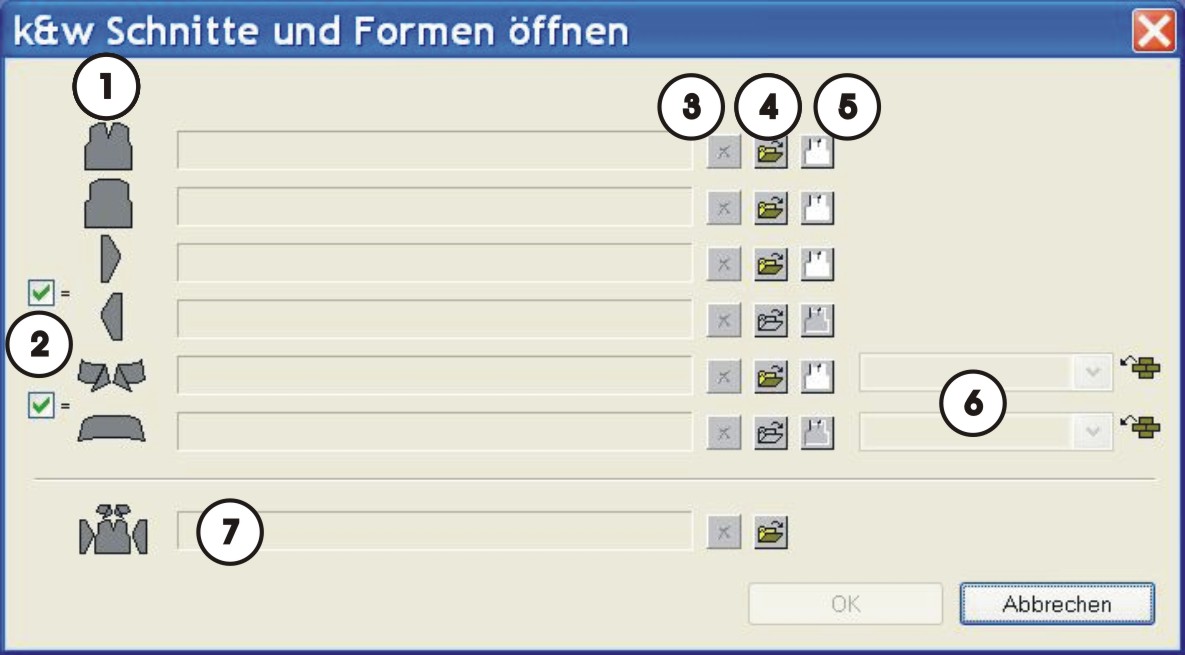
- Call up the dialog box Open k&w shapes via the / menu.
|
No. |
Function | |
|---|---|---|
|
1 |
List of the loaded shape elements. | |
|
2 |
|
Same elements are used for right / left or for front / back. |
|
|
Different elements are used for right / left or for front / back. | |
|
3 |
Delete the shape element loaded. | |
|
4 |
Load shape element. | |
|
5 |
Open the shape editor with the element loaded. | |
|
6 |
Knitting mode for front / back collar | |
|
7 |
Load shapes of the .shk and .kaw formats. | |
II. Load and lay-on the shape elements:
- 1
- Load e.g. the shape element Front via the
 key.
key.
- The Open dialog box appears.
- 2
- Select the directory, in which the shape elements are saved.
The Stoll default shapes are saved under D:/Stoll/M1/Shapesizer/k&w.
- 3
- Select the Front shape element.
- 4
- Press the Open key.
- The Front shape element is displayed in the dialog box.
Load all the other shape elements following the same procedure.
Selection for the Sleeve shape element:
 The sleeve element will automatically be used for both sleeves, left and right.
 Different shape elements can be loaded for the left and right sleeve.
Selection for the Collar shape element:
- The collar element will automatically be used for front and back collar.
- Different shape elements can be loaded for the front and back collar.
- 5
- Close the Open k&w shapes dialog box with OK.
- The individual shape elements will be laid onto the pattern.
Saving
The shape elements combined this way cannot be saved.
III. Position the shape parts in the basic motif:
- 1
- Position the shape elements Sleeve and / or Body with collar on the motif with the
 symbol selected and the left mouse button pressed.
- or -
Select the desired shape element with the symbol selected. Position the selected shape element with the arrow keys of the keyboard.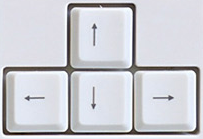
- or -
Position the selected shape element with the arrow keys of the Tool properties dialog box.
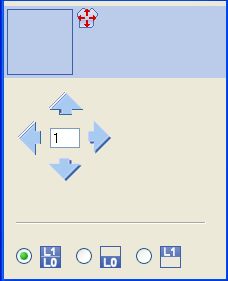
Settings in the Tool properties dialog box for the Drawing Tool:
|
Symbol |
Function |
|---|---|
|
|
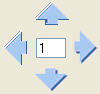
Input of a number (factor): Moving the selected element with each click on a direction arrow by the factor entered |
|
Direction arrows: Moving the selected element in the different directions | |
|
|
Move front layer (L0) and back layer (L1) of the selected element |
|
|
Move only the front layer (L0) of the selected element |
|
|
Move only the back layer (L1) of the selected element |


Selection of shape elements:
- Selection by left clicking in the shape element
- Multiple selection of shape elements with Ctrl + left clicking in the individual shape elements.
- Delete the selection left clicking outside a shape element
Before selecting the shape elements, the corresponding selection has to be carried out in the Tool properties dialog box, which layer / layers of the shape elements are to be moved.
If the pattern is saved with the positioned shape, the positions of the shape parts in the pattern are retained when re-opening.