Getting Started with M1plus
Start the M1plus program and generate a new pattern:
- 1
- Click the
 icon on the desktop.
 - 2
- Select the / menu.
- or -
Click the icon.
icon.
- The New Pattern dialog box appears.
- 3
- Enter the desired name at Pattern name.
- 4
- Under Machine use
 to open the Select machine dialog box:
 - 5
- Select the tab or .
- 6
- Make the desired settings:
- Machine type
- Gauge / Needle hook gauge
- Setup Type
- Setup1
Use for ST 711-811, ST 168-468, OKC machines. - Setup2:
Use for EKC and OKC machines starting with the operating system V_OKC_002.001.000_STOLL. - With tandem operating mode: Enter the specifications under
- 7
- Select Basic pattern (pattern without shape) and .
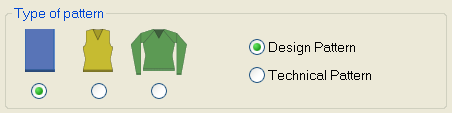
- 8
- Define the pattern size and the basic knitting mode.
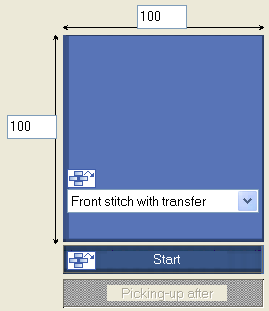
Selection options:
- Front Stitch with Transfer
- Rear Stitch with Transfer
- Front stitch – Rear stitch.
- No needle action
- 1x1 Stitch v with Transfer
- 1x1 Stitch ^ with Transfer
- MG_Stitch v with transfer
- MG Stitch ^ with Transfer
- Tubular
- 1x1 tubular
You can add modules from the Module Explorer or from the Modules toolbar to the  picklist by drag-and-drop.
- 9
- Select a start.
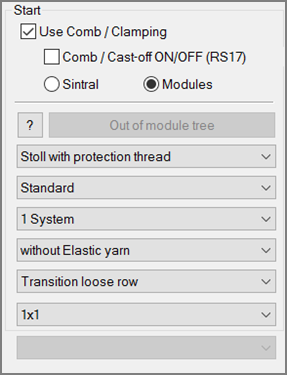
Selection options:
- Stoll with protection yarn
- Stoll coarse gauge with protection yarn
- Private
Module Support
Get information and pictures about the selected start by the  icon.
icon.
- 10
- Confirm the dialog box with the Generate Design Pattern button.
- The new pattern appears in the symbol view.