Modules
I. Generate a new module from a selection:
- 1
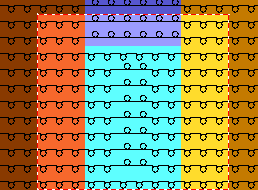
- Select a pattern area in the Symbol View [Basic].
- 2
- Call up the / / menu.
- or -
Click on the icon in the Default toolbar.
- The Module Editor appears with the contents of the selection.
- 3
- Close the Module Editor with
 .
.
- The new module will be saved as Local module in the Modules toolbar under Local Modules
 .
.
|
Marking |
Meaning |
|---|---|
|
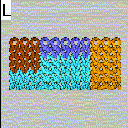
L |
Symbol for Local module |
II. Save a local module in the data base:
- 1
- Select a local module in the Modules toolbar under local modules .
- 2
- Call up the context menu with the right mouse button and select .
- The module is saved to the New Modules module group of the Module explorer of database.
Modules saved in the data base are available for further patterns.
The L marking is no longer present.
III. Generate new module.
- 1
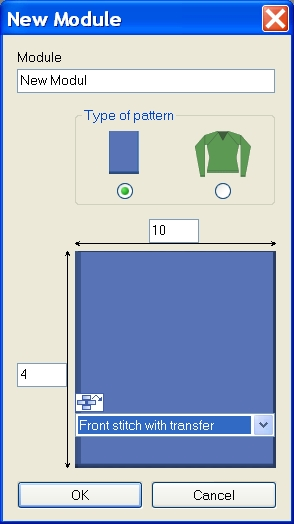
- Call up the New Module dialog box via the / / menu.
- 2
- Enter a name under .
- or -
Enter the module name in the Properties dialog box in the tab. - 3
- Enter the width and the height for the module.
- 4
- Select the specification of the needle action for the new module.
- Stitch ^ with transfer
- Stitch v with transfer
- Stitch-Stitch
- Not
- 5
- Confirm the entry with OK button.
- The Properties of: ... dialog box appears.
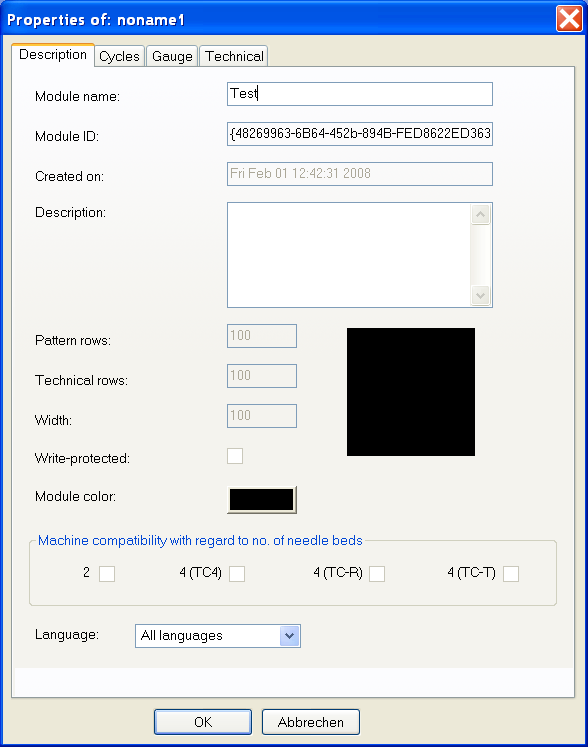
Default settings are already given in the Description, Cycles, Gauge and Technique tabs.
- 6
- Confirm the dialog box with OK and close it.
- The Module Editor is opened.
- 7
- Draw the desired knitting sequence with Needle actions in the Module Editor.
Needle actions toolbar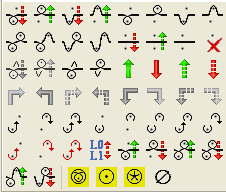
When drawing with Needle actions, no parameters will be entered in the control columns.
- 8
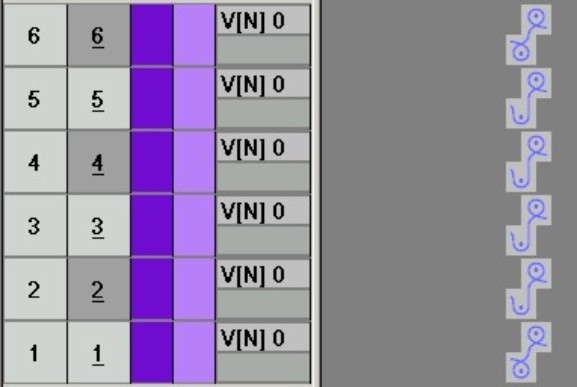
- Specify parameters in the module:
- Stitch Length
|
Entry |
Meaning |
|---|---|
|
Color entry |
Allocation of a stitch length
|
|
Transparent |
= dark grey entry |
|
Not |
= light grey entry
|
 : With

- Fabric Take-down
- Carriage speed, etc.
- 9
- Group pattern rows if necessary.
- 10
- Close the Module Editor with .
- The module is saved in the Module Explorer of Database under New Modules.
- 11
- Select a module for drawing and activate the following module data if necessary:
- The
 icon in the Module Data toolbar
The stitch length of the used module will be applied. - The
 icon in the Module Data toolbar
The data selected in the Module/Pattern Element: Data transfer dialog box of the used module is transferred to the pattern.
IV.IV. Delete modules and module links:
- 1
- Select the module in the Modules toolbar under local modules and call up the context menu with the right mouse button.
- 2
- Call up the function.
- or -
Select the module in the Module Explorer of Database and call up in the context menu.
- The module is deleted from the module group following a safety prompt.
Modules without link (=original) will be deleted once and for all from the data base and from the Modules toolbar.
Only the selected link of modules with several links will be deleted.